Numerous points you can perform in Microsoft Word you can likewise perform in Google Docs. You can place tables, installed photos, as well as also produce illustrations. Nonetheless, one point that you can not do natively is produce boundaries in Google Docs. Particularly, there's no alternative to produce a rundown around a web page.
Nonetheless, there are a couple of basic workarounds to attract a boundary around a web page in Google Docs. You simply need to leap via a couple of hoops to do it. In this short article, you'll find out every one of the alternatives that are readily available to obtain this done.
Just How to Include Web Page Borders in Google Docs
There are a couple of methods to produce a boundary around your web pages in Google Docs. Every one of these are techniques to produce a boundary around a solitary web page. So if you wish to have a boundary for all web pages, you'll require to duplicate the alternative you pick for every one of them.
1. Develop a Solitary Cell Table
The most convenient method to produce a boundary around a Google Docs web page is to make use of a solitary cell table with a boundary. Because you can fill out message inside a cell much like you can in a web page, this will certainly look like a web page with a boundary.
Select the Insert food selection, pick Table, and afterwards pick the 1 × 1 table.
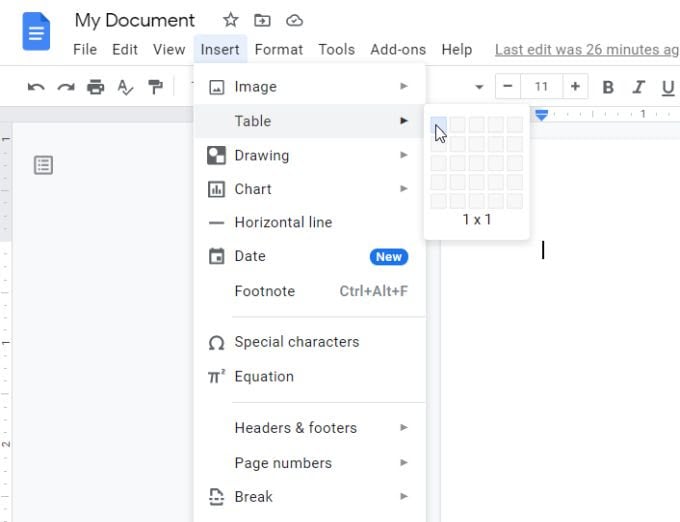
This will certainly go down a table right into your paper. Because it's simply a one-cell table, it appears as a box in your paper.
Select any type of side of the table as well as adjust the elevation as well as size of the table to make sure that it encloses the whole web page.
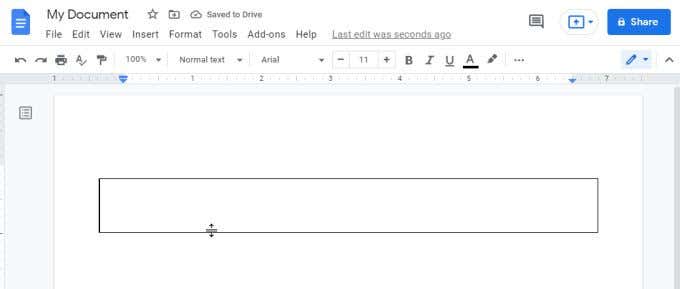
When you're ended up, your table will certainly develop the web page boundary. You can kind anywhere inside this box as well as kind much like if you would certainly kind right into the web page itself.
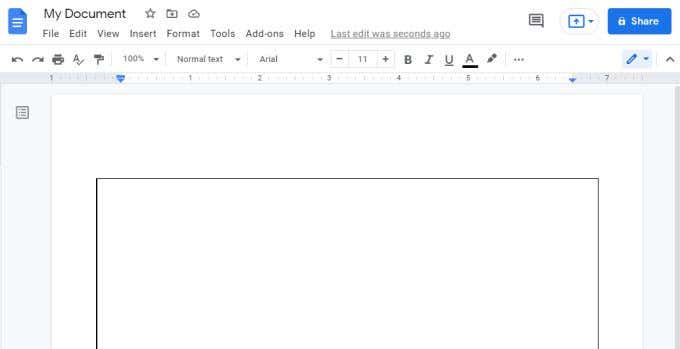
You can layout the message shade, placement as well as whatever else in precisely similarly. This indicates you'll shed absolutely nothing from making use of a single-cell table to produce your web page boundary in Google Docs.
If you do not such as the look of the table boundary, or it showed up without one, simply pick the table boundary itself to transform its look. You'll see the format food selection show up in the bow. Make use of the layout (pen) symbol to transform the boundary shade.
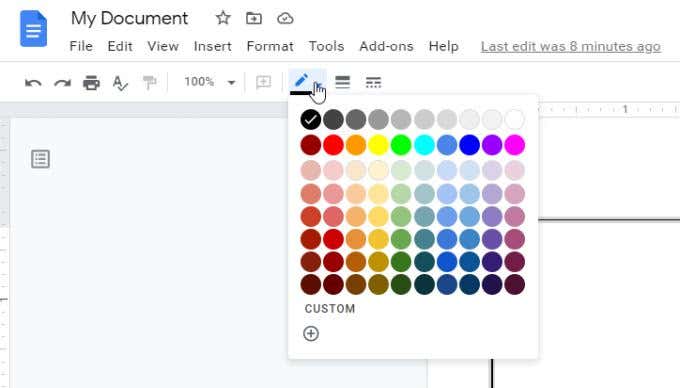
To the right of this, you'll see symbols to transform the boundary density as well as the boundary design (like a populated line as opposed to strong).
2. Placing an Illustration-- Box or Text Box
If you do not such as the table alternative, there's one more method you can produce a web page boundary in Google Docs. You can place an illustration and afterwards produce either a routine box or a message box to develop your boundary.
1. Select the Insert food selection, pick Attracting, and afterwards pick New

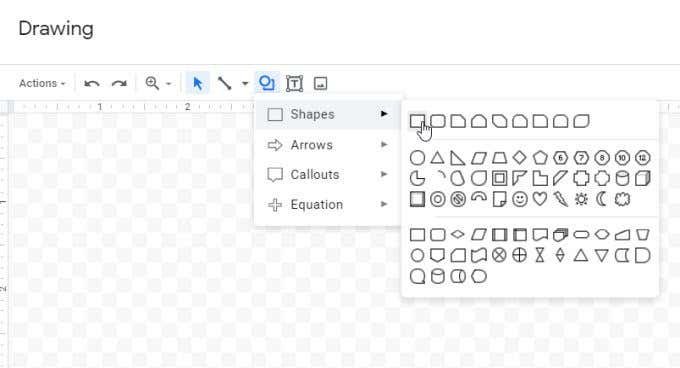
2. In the food selection, pick the forms symbol, pick Forms, and afterwards pick the rectangular shape symbol to place a rectangle form right into your paper.
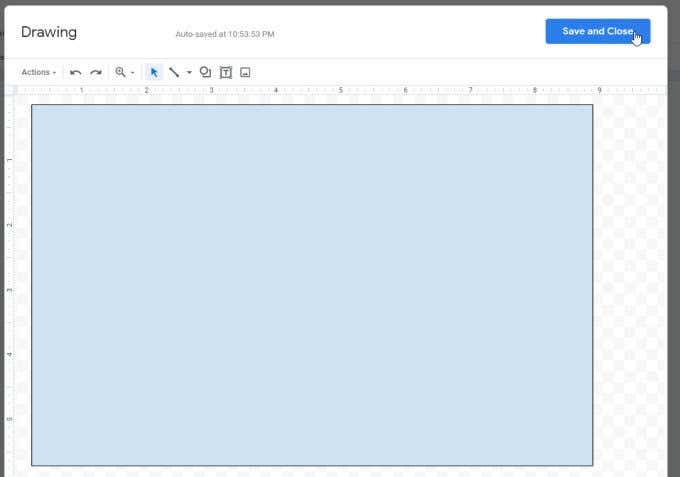
3. This will certainly place a rectangular shape right into the attracting device. You can resize it below if you desire (by dragging the boundaries), or simply pick Conserve as well as Shut because you'll have a possibility to resize it inside your paper anyhow.
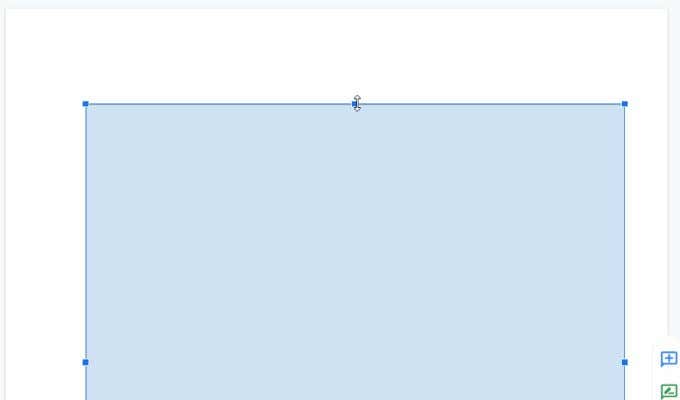
4. You'll currently see the rectangular shape show up inside your Google Docs paper. Once again, you can resize this form the very same specific method you provided for the table. Simply pick the rectangular shape and afterwards drag any type of side to resize it to the side of your paper.
5. The history boundary of the paper will certainly be blue. So, if you favor white or a few other shade, simply pick the rectangular shape as well as pick the Edit switch near the bottom.
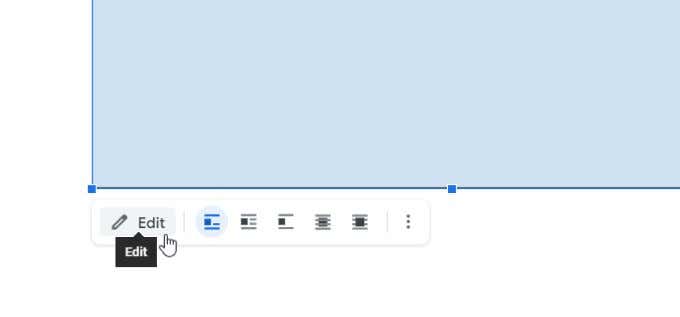
6. This will certainly open up the attracting device once again where you'll locate the modifying toolbar. Right here you can transform the fill shade, boundary shade, boundary line density, as well as boundary design.

Simply pick Conserve as well as Shut once again for those modifications to turn up on the rectangular shape that remains in your paper.
Note: You can likewise place a picture box as opposed to a routine form right into the paper. Nonetheless, both basically function similarly because you can begin inputting message right into either. A message box shows up without a boundary by default, so you'll require to modify the textbox to include the boundary if you desire one.
3. Placing a Photo as Web Page Boundary
The last strategy you have readily available to produce a web page boundary in Google Docs is to place a boundary photo from the internet. This provides you the capability to make use of rather extra imaginative boundaries as well as is particularly valuable if you're making invites or a few other paper that can make use of a good boundary photo.
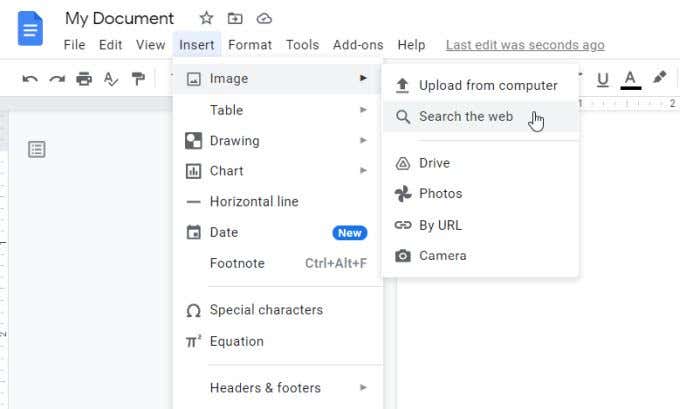
1. Select the Insert food selection, pick Photo, and afterwards pick Browse the internet
2. You can search the internet for boundaries from within Google Docs by inputting "boundaries" or something comparable right into this search area.
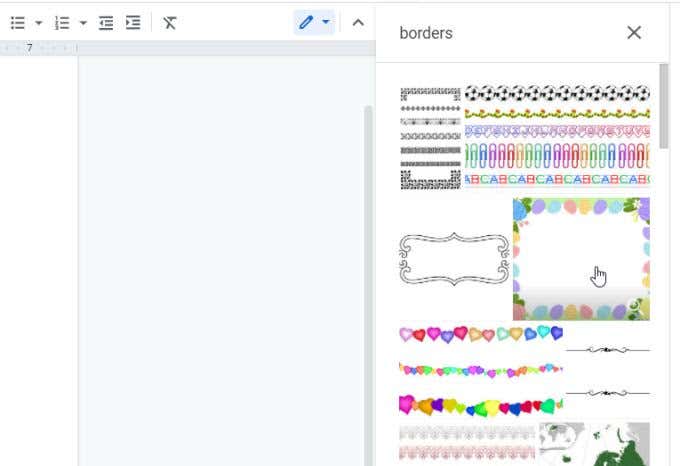
3. Scroll via the photos as well as pick the one that you wish to make use of. As soon as picked, click Insert at the end of the listing.
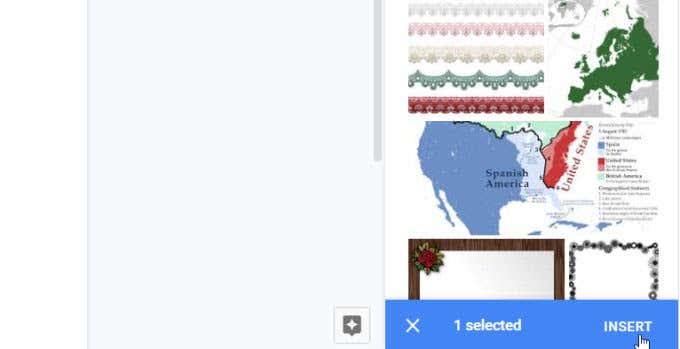
4. This will certainly place the photo boundary right into the paper. Resize this photo boundary by choosing as well as dragging any type of side of the boundary to the side of your paper.
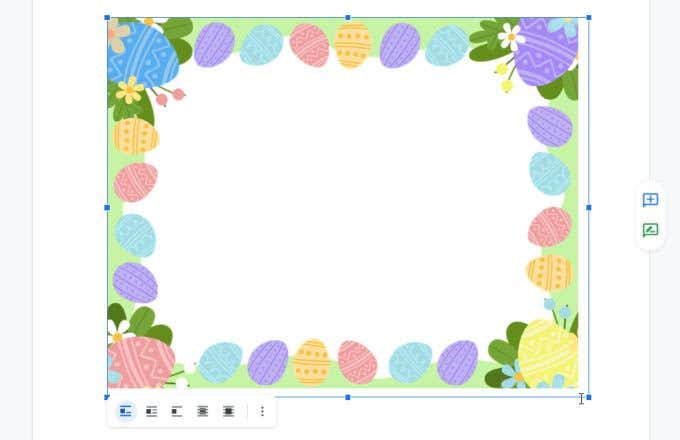
5. Because this is a picture, you will not have the ability to simply pick anywhere inside it as well as begin inputting message. To place message over it, you'll require to relocate this boundary photo behind all message. To do this, pick the photo as well as pick the Behind message symbol at the end of the photo.
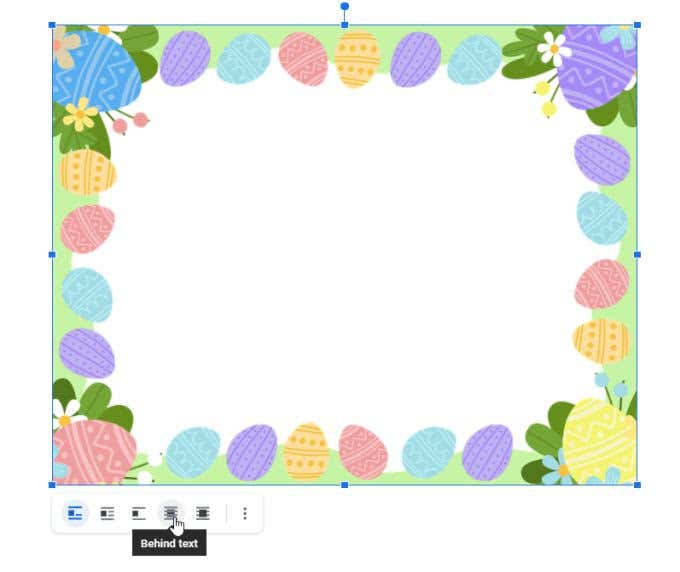
6. This will certainly position the photo as a layer behind every one of the message in the paper. Currently you can begin inputting inside the photo boundary.

You might require to make use of the tab secret on your key-board a couple of times to position the start of each message line inside the boundary itself. Nonetheless, this is a little cost to pay so you can make use of imaginative photo boundaries around your paper.
3 Ways to Develop Boundaries in Google Docs
Any one of the 3 methods to produce boundaries defined above will certainly function great, however the one you pick truly depends upon the end result you're trying to find. If you desire a fast as well as simple option, either the table or the illustration will certainly function penalty. Both permit you to layout the message equally as quickly as without a boundary.
Nonetheless, if you're trying to find something extra imaginative, the photo boundary is ideal because you can make use of a picture on the internet or among your very own.